Migrating EF1 Extensions

Use this guide to understand how to migrate an existing Python EF1 extension to the new EF2 format.

Requirements

Step by Step

To migrate an existing python EF1 extension using VSCode, the steps are as follows:

  1. Create a new EF2 extension

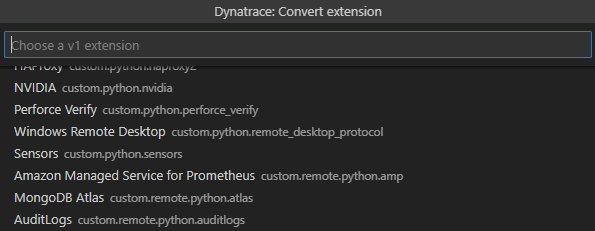
  2. Import the EF1 extension using the Dynatrace extensions: Convert Python command

  3. Convert the code, moving the class from the original extension to the __main__.py file of the new extension

Create a new EF2 extension

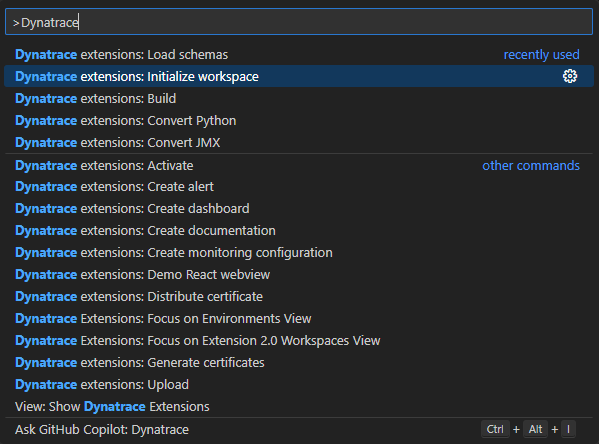
  1. Open an empty folder in VSCode, then run the Dynatrace extensions: Initialize Workspace command

  2. Select the schema version (latest recommended), and the certificates you want to use to sign the extension
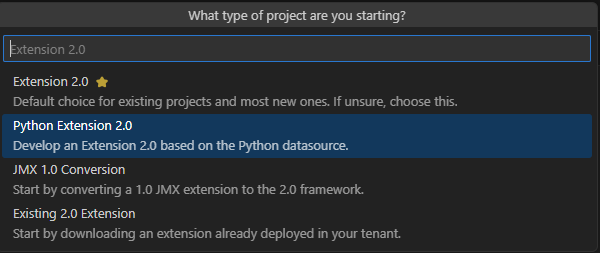

Init workspace

  1. Chose the Python Extension 2.0 project type

  2. Give your extension a name, it must respect the python module naming convention (all lower case with optional underscores).


Chose project type

Import the Python EF1 extension

The first step is to convert the old plugin.json file to the new activationSchema.json format.
This will automatically create the Settings 2.0 UI for your extension, which defines the UI for the user to configure the extension.

Run the command Dynatrace extensions: Convert Python.
You can chose to import an existing python extension from:

  • The extension zip file

  • The plugin.json file

  • From your Dynatrace environment


Import extension

In this example we are importing from a Dynatrace environment, which gives you a list of all python extensions on that environment.

If you would like to import from your computer, a file picker will open, and you can select the zip or plugin.json file of your extension.

Import from dynatrace

After you select an extension, your activationSchema.json will be overwritten with the correct settings.

You should also review that file, to make sure your UI looks the way you want it to.

Note

If you are importing a local (OneAgent) extension, delete the entry activation > remote from the extension.yaml file.
If instead you are importing a remote (Activegate) extension, delete activation > local.
You can also make your extension work both remotely and locally, by keeping both entries and modifying the activationSchema.json file accordingly.

Modify the extension code

Note

We are working on automating part of this step.
Move your existing extension code to the __main__.py file of the new extension.
The easiest way to accomplish this is by pasting the code from your existing extension class into the new ExtensionImpl class.

Here are the most important changes you need to make to your code:

Code conversion reference

Description

EF1 method

EF2 method

Notes

Logging

self.logger.info("message")

self.logger.info("message")

Stays the same

Obtaining user defined parameters

self.config.get("param_name", "default_value")

self.activation_config.get("param_name", "default_value")

You can find and replace all self.config. entries with self.activation_config.

Report an event

self.results_builder.report_custom_info_event

self.report_dt_event

Try to keep topology (groups, device, IDs) out of the code, this is defined later in the extension.yaml file.

Report a metric

device.absolute("metric_key", metric_value, {"dimension_name": "dimension_value"})

self.report_metric("metric_key", metric_value, {"dimension_name": "dimension_value"})

There is no concept of a device in the python code anymore, send metrics directly.

Create groups and custom devices

self.topology_builder.create_group, group.create_device

n/a

Doesn’t exist, topology is defined in the extension.yaml file.

Build and upload the extension

Build the extension by running the command Dynatrace extensions: Build.
If the build is successful, you will see a prompt to upload the extension to your Dynatrace environment and activate it.
Accept both prompts

Navigate to your Dynatrace environment, to Infrastructure Observability > Extensions and find your extension.
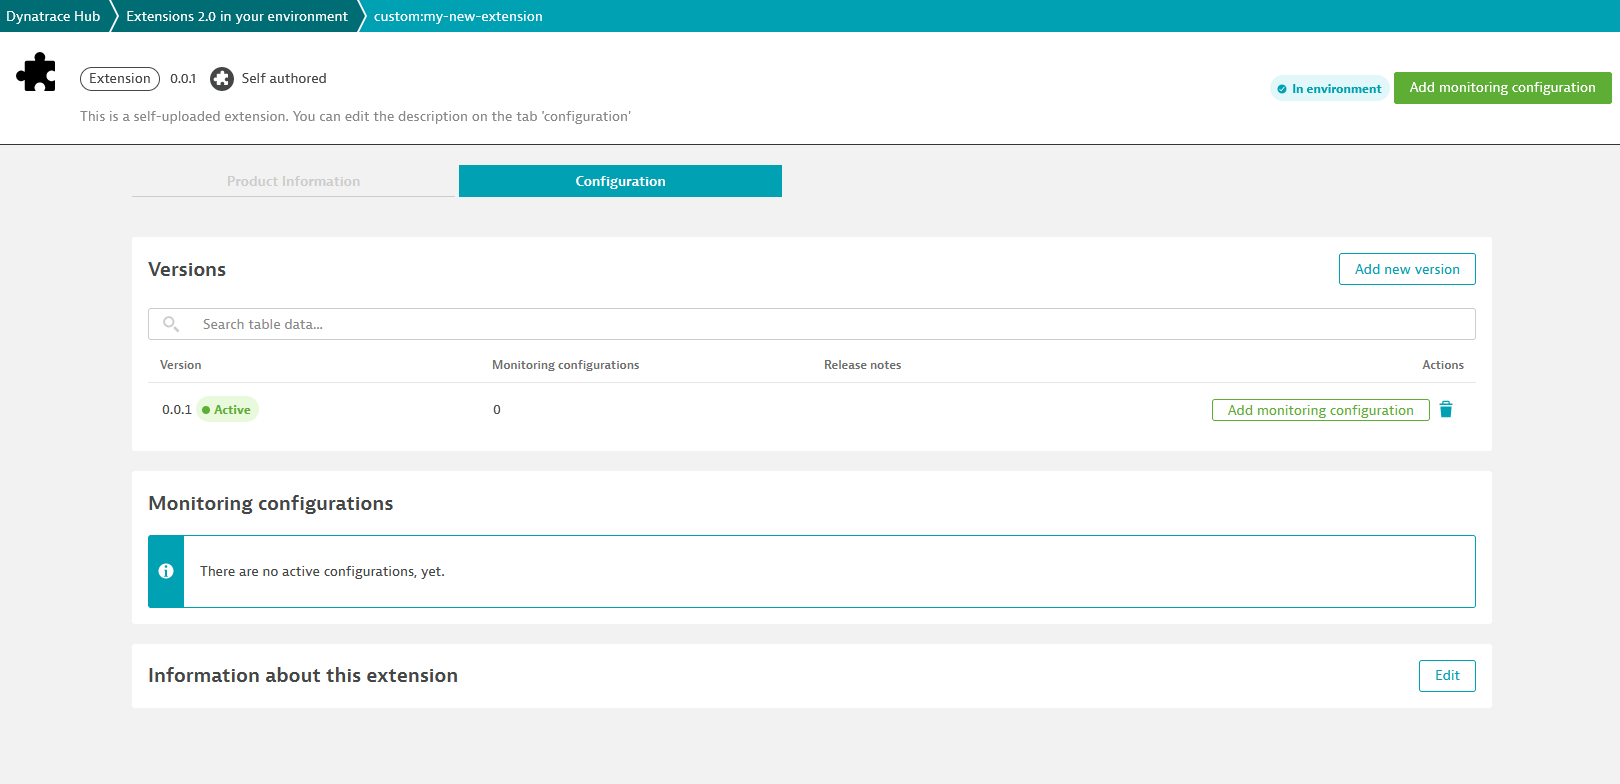
Extension config

Click Add monitoring configuration
Check that your UI looks the way you want it to, and fill in the parameters.

Note

You can copy the value from the right side JSON Snippet and use it in your activation.json file to test your extension locall with dt-sdk run
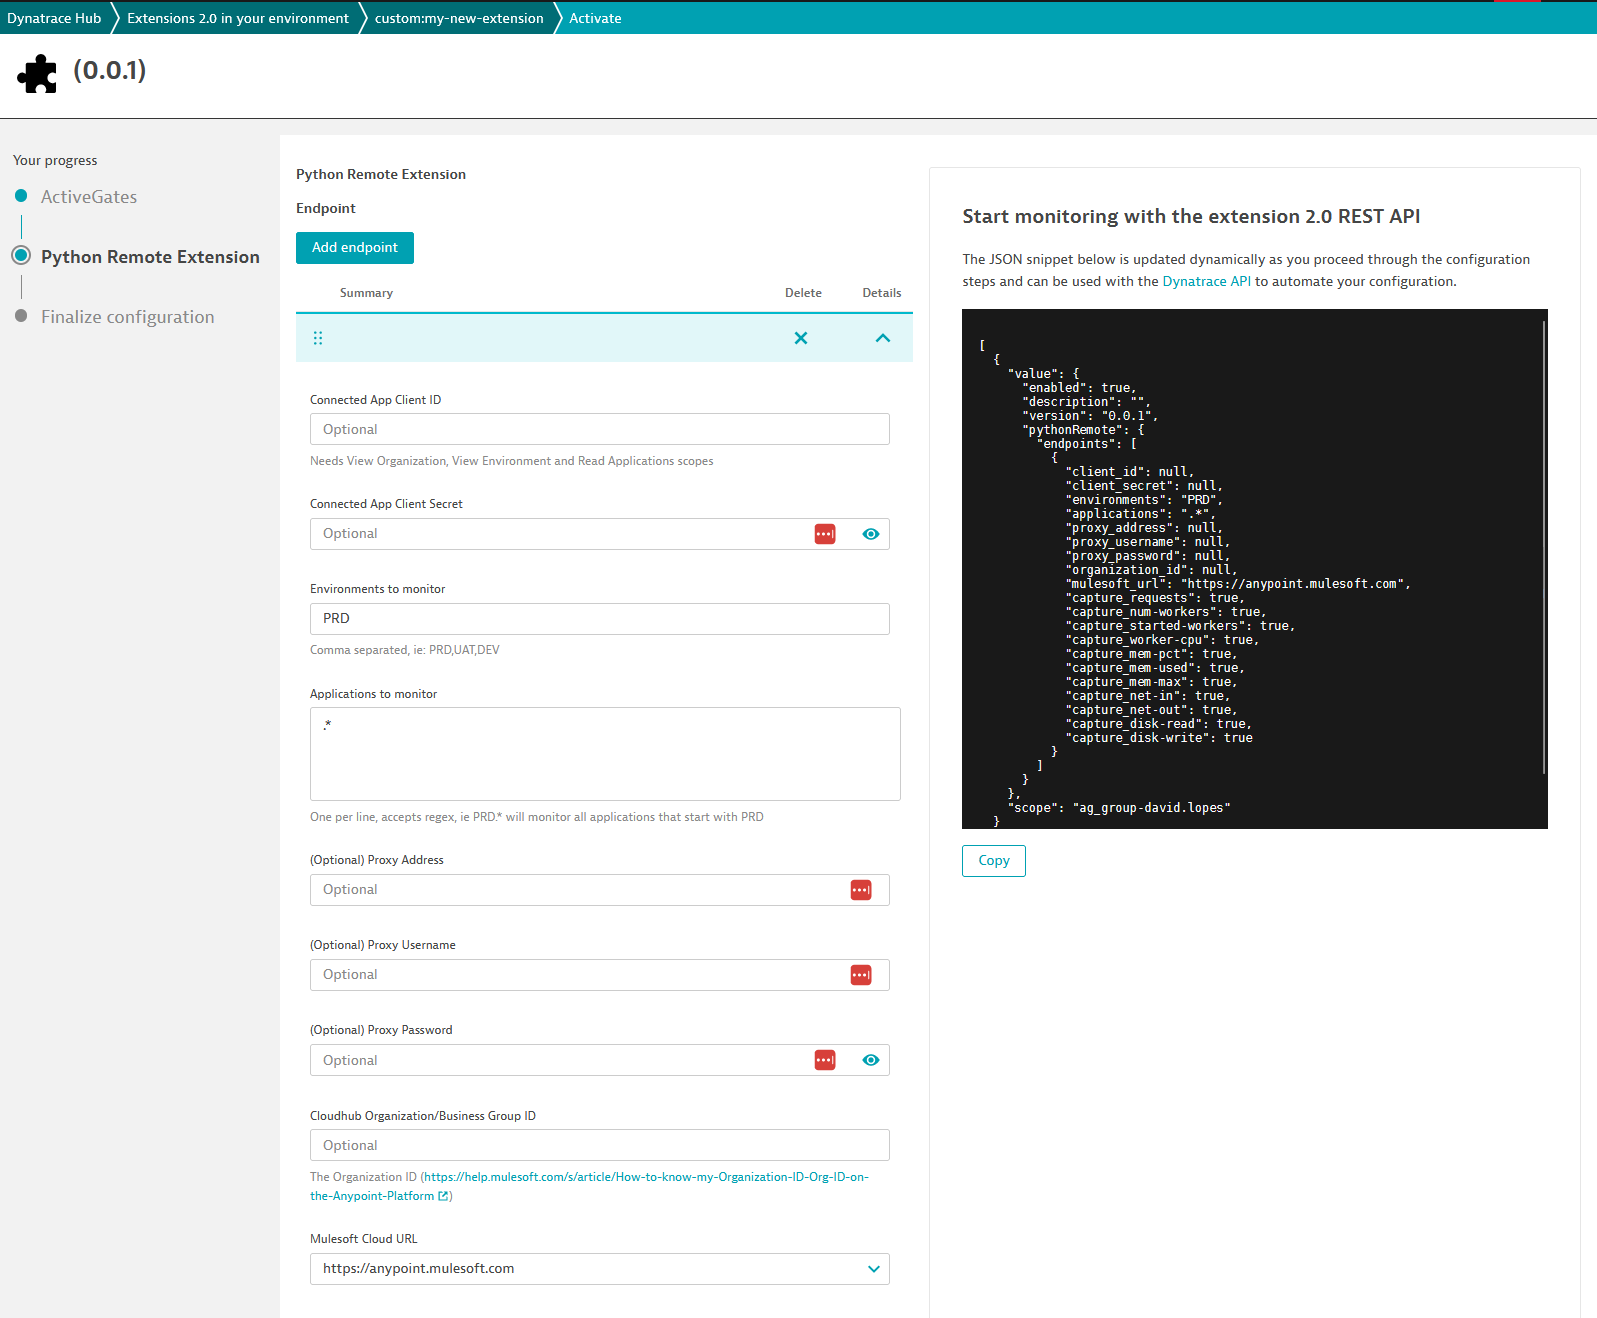
Extension config

Limitations

  • The process snapshot is not yet supported, but will be added in the future. As a workaround the file <dynatrace_log_path>/dynatrace/oneagent/plugin/oneagent_latest_snapshot.log can be read and parsed as JSON.

  • The metric metadata and topology must be added to the extension.yaml file, part of this will be automated in the future.